What is thrumming?
Thrummed Knitting: A Maritime Tradition That Warms the Coldest Winters
When the temperature dips well below freezing, knitters across Canada have a special trick up their sleeves: thrummed knitting. This unique technique doesn’t just make beautiful hand knitted items, it makes some of the warmest, coziest garments imaginable.
What Is Thrummed Knitting?
Thrummed knitting is the practice of working small tufts of unspun wool roving (called thrums) into your stitches. The tufts sit inside the fabric, creating a fluffy, insulating lining that eventually felts together with use and flattens to cover the small holes knitting creates. The result is knitwear that’s soft, dense, and warm enough to fend off the harshest winter days.
Most commonly, thrumming is used in mittens, but it can also be applied to other knits like hats etc.
Where Thrummed Knitting Comes From
Thrummed knitting has its roots in Atlantic Canada, particularly Newfoundland and Nova Scotia. It’s believed to have developed during the 18th and 19th centuries, when settlers in these coastal provinces needed ways to stay warm against icy winds and damp cold. Sheep farming provided easy access to fleece, so knitters began tucking pieces of wool into their stitches to create extra insulation
Mini Tutorial: How to Knit Thrums
What You’ll Need
• Worsted weight yarn (wool works best)
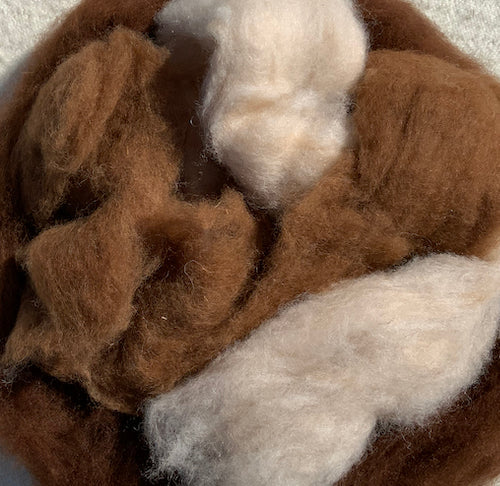
• Roving or unspun fleece (about a handful for a pair of mittens)
• Your mitten (or other project) pattern
Step 1: Make a Thrum
1. Pull off a small piece of roving, about 2–3 inches long.
2. Gently roll it between your palms into a loose, fluffy strand. Make sure the middle of the roving is nice and thin
It should look like a tiny elongated puff of wool—not too tight.

Step 2: Place the Thrum
1. When you reach the stitch where the thrum belongs, place the knitting needle underneath the stitch that needs to be knit.
2. Put the roving around your needle and pull through. Then put the roving stitch onto the working needle and knit both the roving and the stitch together from the back loops.
Step 3: Secure the Thrum
1. The yarn stitch holds the thrum in place.
2. Inside the fabric, the wool puff will dangle, creating your lining.
3. On the outside, you’ll see a little “V” of fleece in the stitch.

As you wear your knitted garment the thrums will felt down and create a soft, dense, insulated lining that molds to you.
Now let’s get thrumming!